Create Image WMS
Once the Raster layers added to Geoserver, it’s time to publish Raster data as WMS. Go through the steps of publishing a Raster with GeoServer
- Click on the GeoServer logo at the top left corner as shown in the figure 35
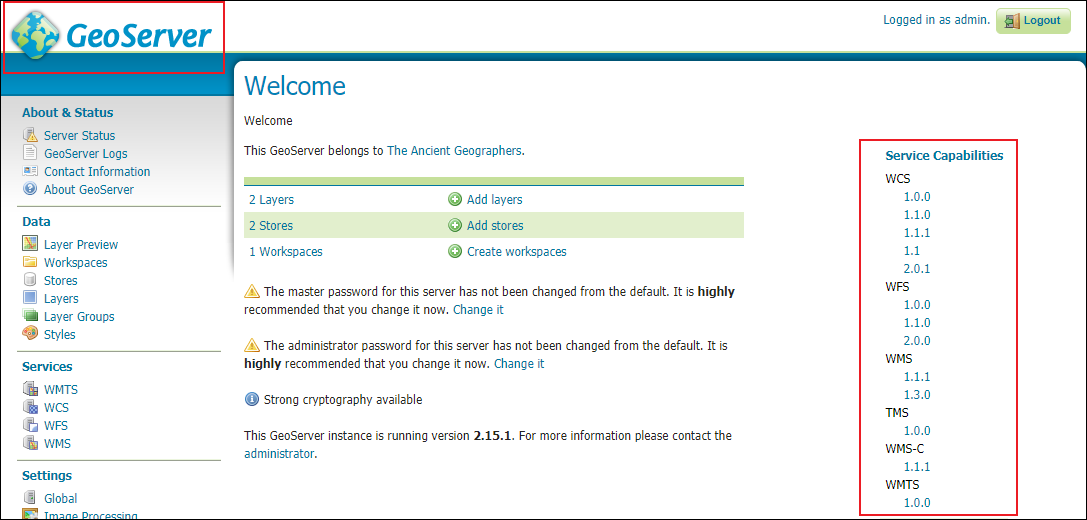
Figure 70 - Geoserver Welcome page
- On the right side of the page, WCS, WFS, WMS, TMS, WMS-C & WMTS services capabilities will be displayed
- Under WMS right click on 1.3.0 and copy link address and paste it in notepad.

Figure 71 - Copy link address
WMS Basics:
GeoServer provides support for Open Geospatial Consortium (OGC) Web Map Service (WMS) versions 1.1.1 and 1.3.0. This is the most widely used standard for generating maps on the web, and it is the primary interface to request map products from GeoServer. Using WMS makes it possible for clients to overlay maps from several different sources in a seamless way.
Differences between WMS versions
- In 1.1.1 geographic coordinate systems specified with the EPSG namespace are defined to have an axis ordering of longitude/latitude. In 1.3.0 the ordering is latitude/longitude.
- In the GetMap operation the srs parameter is called crs in 1.3.0. GeoServer supports both keys regardless of version.
- In the GetFeatureInfo operation the x and y parameters are called i and j in 1.3.0. GeoServer supports both keys regardless of version, except when in CITE-compliance mode.

Figure 72 - WMS link pasted in notepad
Add Image WMS to QGIS
- Now add WMS in QGIS.
- In the browser panel, locate the WMS/WMTS and right click it to add a new connection.

Figure 73 - Browser Panel in QGIS with WMS/WMTS
- Name your connection. This is not the name of the layer but the name of service which is offering the WMS layer.
- Name the connection as Google_Image_Sample_Modified and the URL as http://localhost:8080/geoserver/ows?service=wms&version=1.3.0&request=GetCapabilitie.
- Click OK to add WMS to browser panel.


- Double click on the layer fromWMS to add to layer panel.

Figure 76 - Displaying Image from Geoserver to QGIS through WMS
Hi
ReplyDelete